Documentation Index Fetch the complete documentation index at: https://docs.qalti.com/llms.txt
Use this file to discover all available pages before exploring further.
This guide shows how to run the Qalti CLI in a CI pipeline (GitHub Actions). It includes parallel simulator runs and an example of running a test on a real iOS device.
You can check out the full repository here: github.com/qalti/qalti . It includes source code, CI examples, and demo tests.
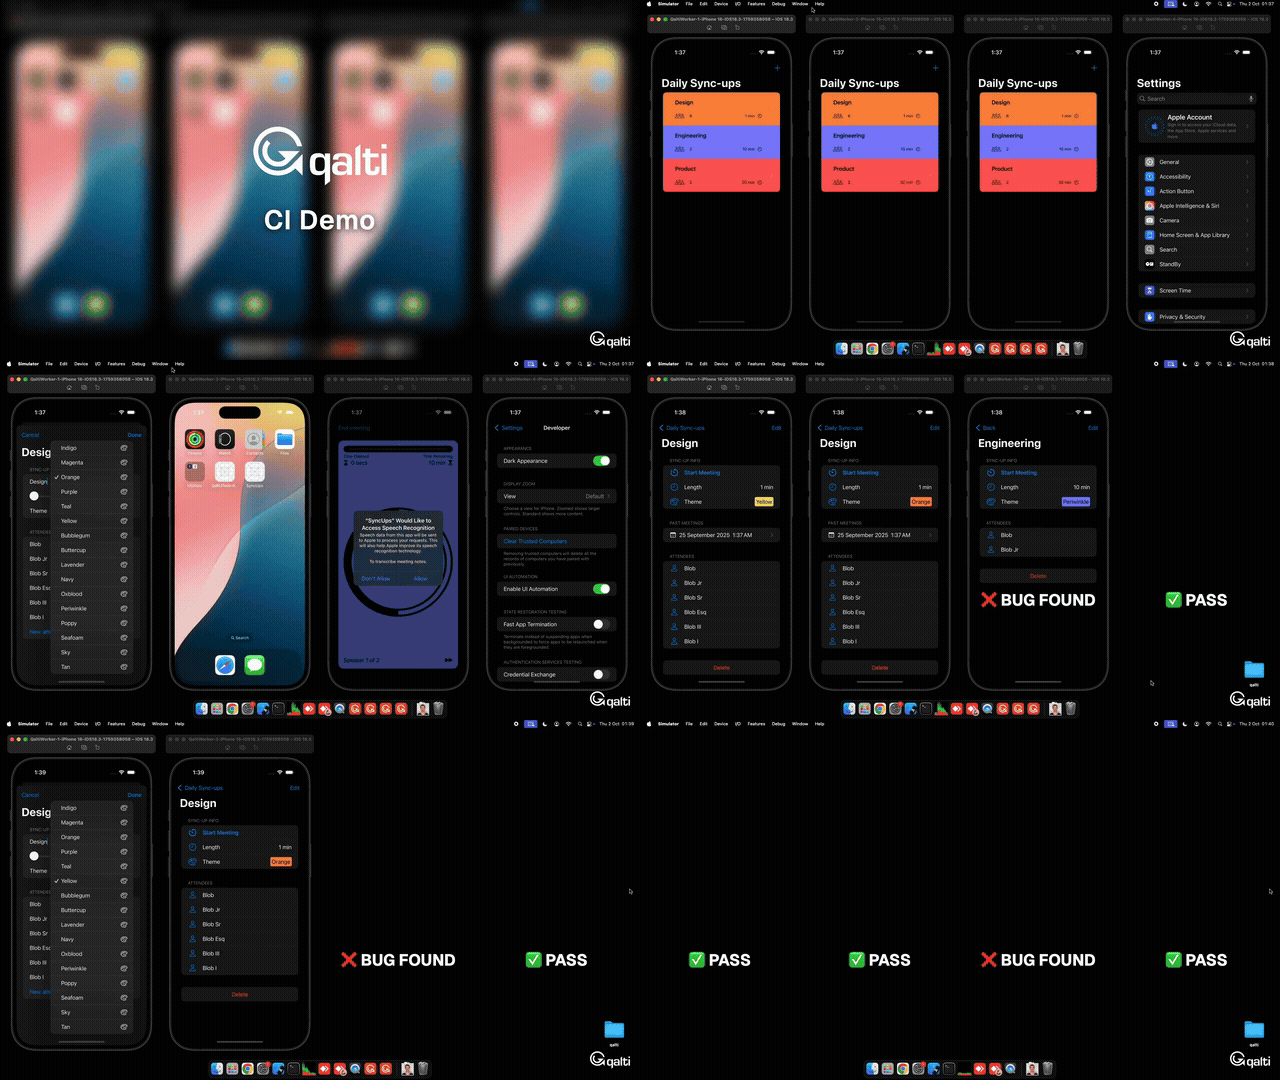
Below is how a real CI run looks like under the hood with 4 workers:
What you can do
Parallel simulator execution
Run tests on a real device
Produce Allure-formatted reports that you can upload to any QA system
Authentication for CI
Qalti requires your OpenRouter API key for test execution.
Set it in your CI environment:
export OPENROUTER_API_KEY = "sk-or-v1-..."
Or pass it explicitly with --token.
Install Qalti in CI
Qalti is a macOS app, and the CLI is included in the bundle. You can download and install it in your CI pipeline with this bash script:
curl -L -o Qalti.dmg https://app.qalti.com/releases/Qalti.dmg
hdiutil attach Qalti.dmg -nobrowse -quiet -mountpoint /Volumes/Qalti
cp -R /Volumes/Qalti/Qalti.app /Applications/Qalti.app
hdiutil detach /Volumes/Qalti -quiet
# Run the CLI directly from the app bundle
/Applications/Qalti.app/Contents/MacOS/Qalti cli --help
/Applications/Qalti.app/Contents/Resources/QaltiScheduler --help
Minimal CLI example
This is the easiest way to run your test:
export OPENROUTER_API_KEY = "sk-or-v1-..."
/Applications/Qalti.app/Contents/MacOS/Qalti cli change_appearance.test --token " $OPENROUTER_API_KEY "
where change_appearance.test is a test file with steps in English:
Open Settings
Scroll down to find Display & Brightness
Tap it
Change Appearance
Verify Appearance is changed
To learn more, run /Applications/Qalti.app/Contents/MacOS/Qalti cli --help
Qalti CLI - Run iOS tests from command line
USAGE:
qalti cli <test-file> --token OPENROUTER_API_KEY [options]
ARGUMENTS:
<test-file> Path to test file (.test, .txt, or .json)
OPTIONS:
--token, -t <token> OpenRouter API key (or set OPENROUTER_API_KEY env var)
--model <model> AI model to use (default: gpt-4.1)
Available: gpt-5, gpt-5-mini, gpt-5-nano, gpt-4.1,
gemini-2.5-pro, claude-4-sonnet, claude-3.5-sonnet
--prompts-dir <dir> Custom prompts directory
--report-path <file> Output report path (default: ./reports/test_TIMESTAMP.json)
--allure-dir <dir> Generate Allure report files in specified directory
DEVICE SELECTION:
--udid <udid> Device UDID (takes precedence)
--device-name <name> Device name (e.g., "iPhone 16")
--os <version> OS version (e.g., "iOS 18.2")
--type <type> Device type: simulator (default) or real
OTHER OPTIONS:
--app-path <path> App bundle to install before testing (.app or .ipa)
--iterations <n> Max test iterations (default: 50)
--verbose, -v Enable verbose output
--help, -h Show this help
EXAMPLES:
# Basic usage
qalti cli ./tests/login.test --token sk-or-v1-xxx
# Specific device and model
qalti cli ./tests/login.test --token sk-or-v1-xxx --device-name "iPhone 16" --model claude-4-sonnet
# Using UDID with app install
qalti cli ./tests/app.test --udid 12345-67890 --app-path ./MyApp.app --verbose
# Custom prompts and report location
qalti cli ./tests/checkout.test --prompts-dir ./custom-prompts --report-path ./reports/checkout-run.json
Parallel simulator runs (QaltiScheduler)
Use QaltiScheduler to execute tests in parallel:
/Applications/Qalti.app/Contents/Resources/QaltiScheduler \
--tests "./tests" \
--device-name "iPhone 16" \
--os "18.3" \
--workers 4 \
--model "gpt-4.1" \
--token " $OPENROUTER_API_KEY " \
--app-path "./SyncUps-simulator.zip" \
--allure-dir "./reports/allure"
CI example (GitHub Actions)
This workflow example shows how you can use Qalti in your CI pipelines: .github/workflows/qalti.yml — it’s short, commented, and shows how to:
Set up Qalti
Run tests on simulators and on a real device
Export Allure results and upload artifacts
You can check recent runs in the Qalti Actions dashboard to see it in action.
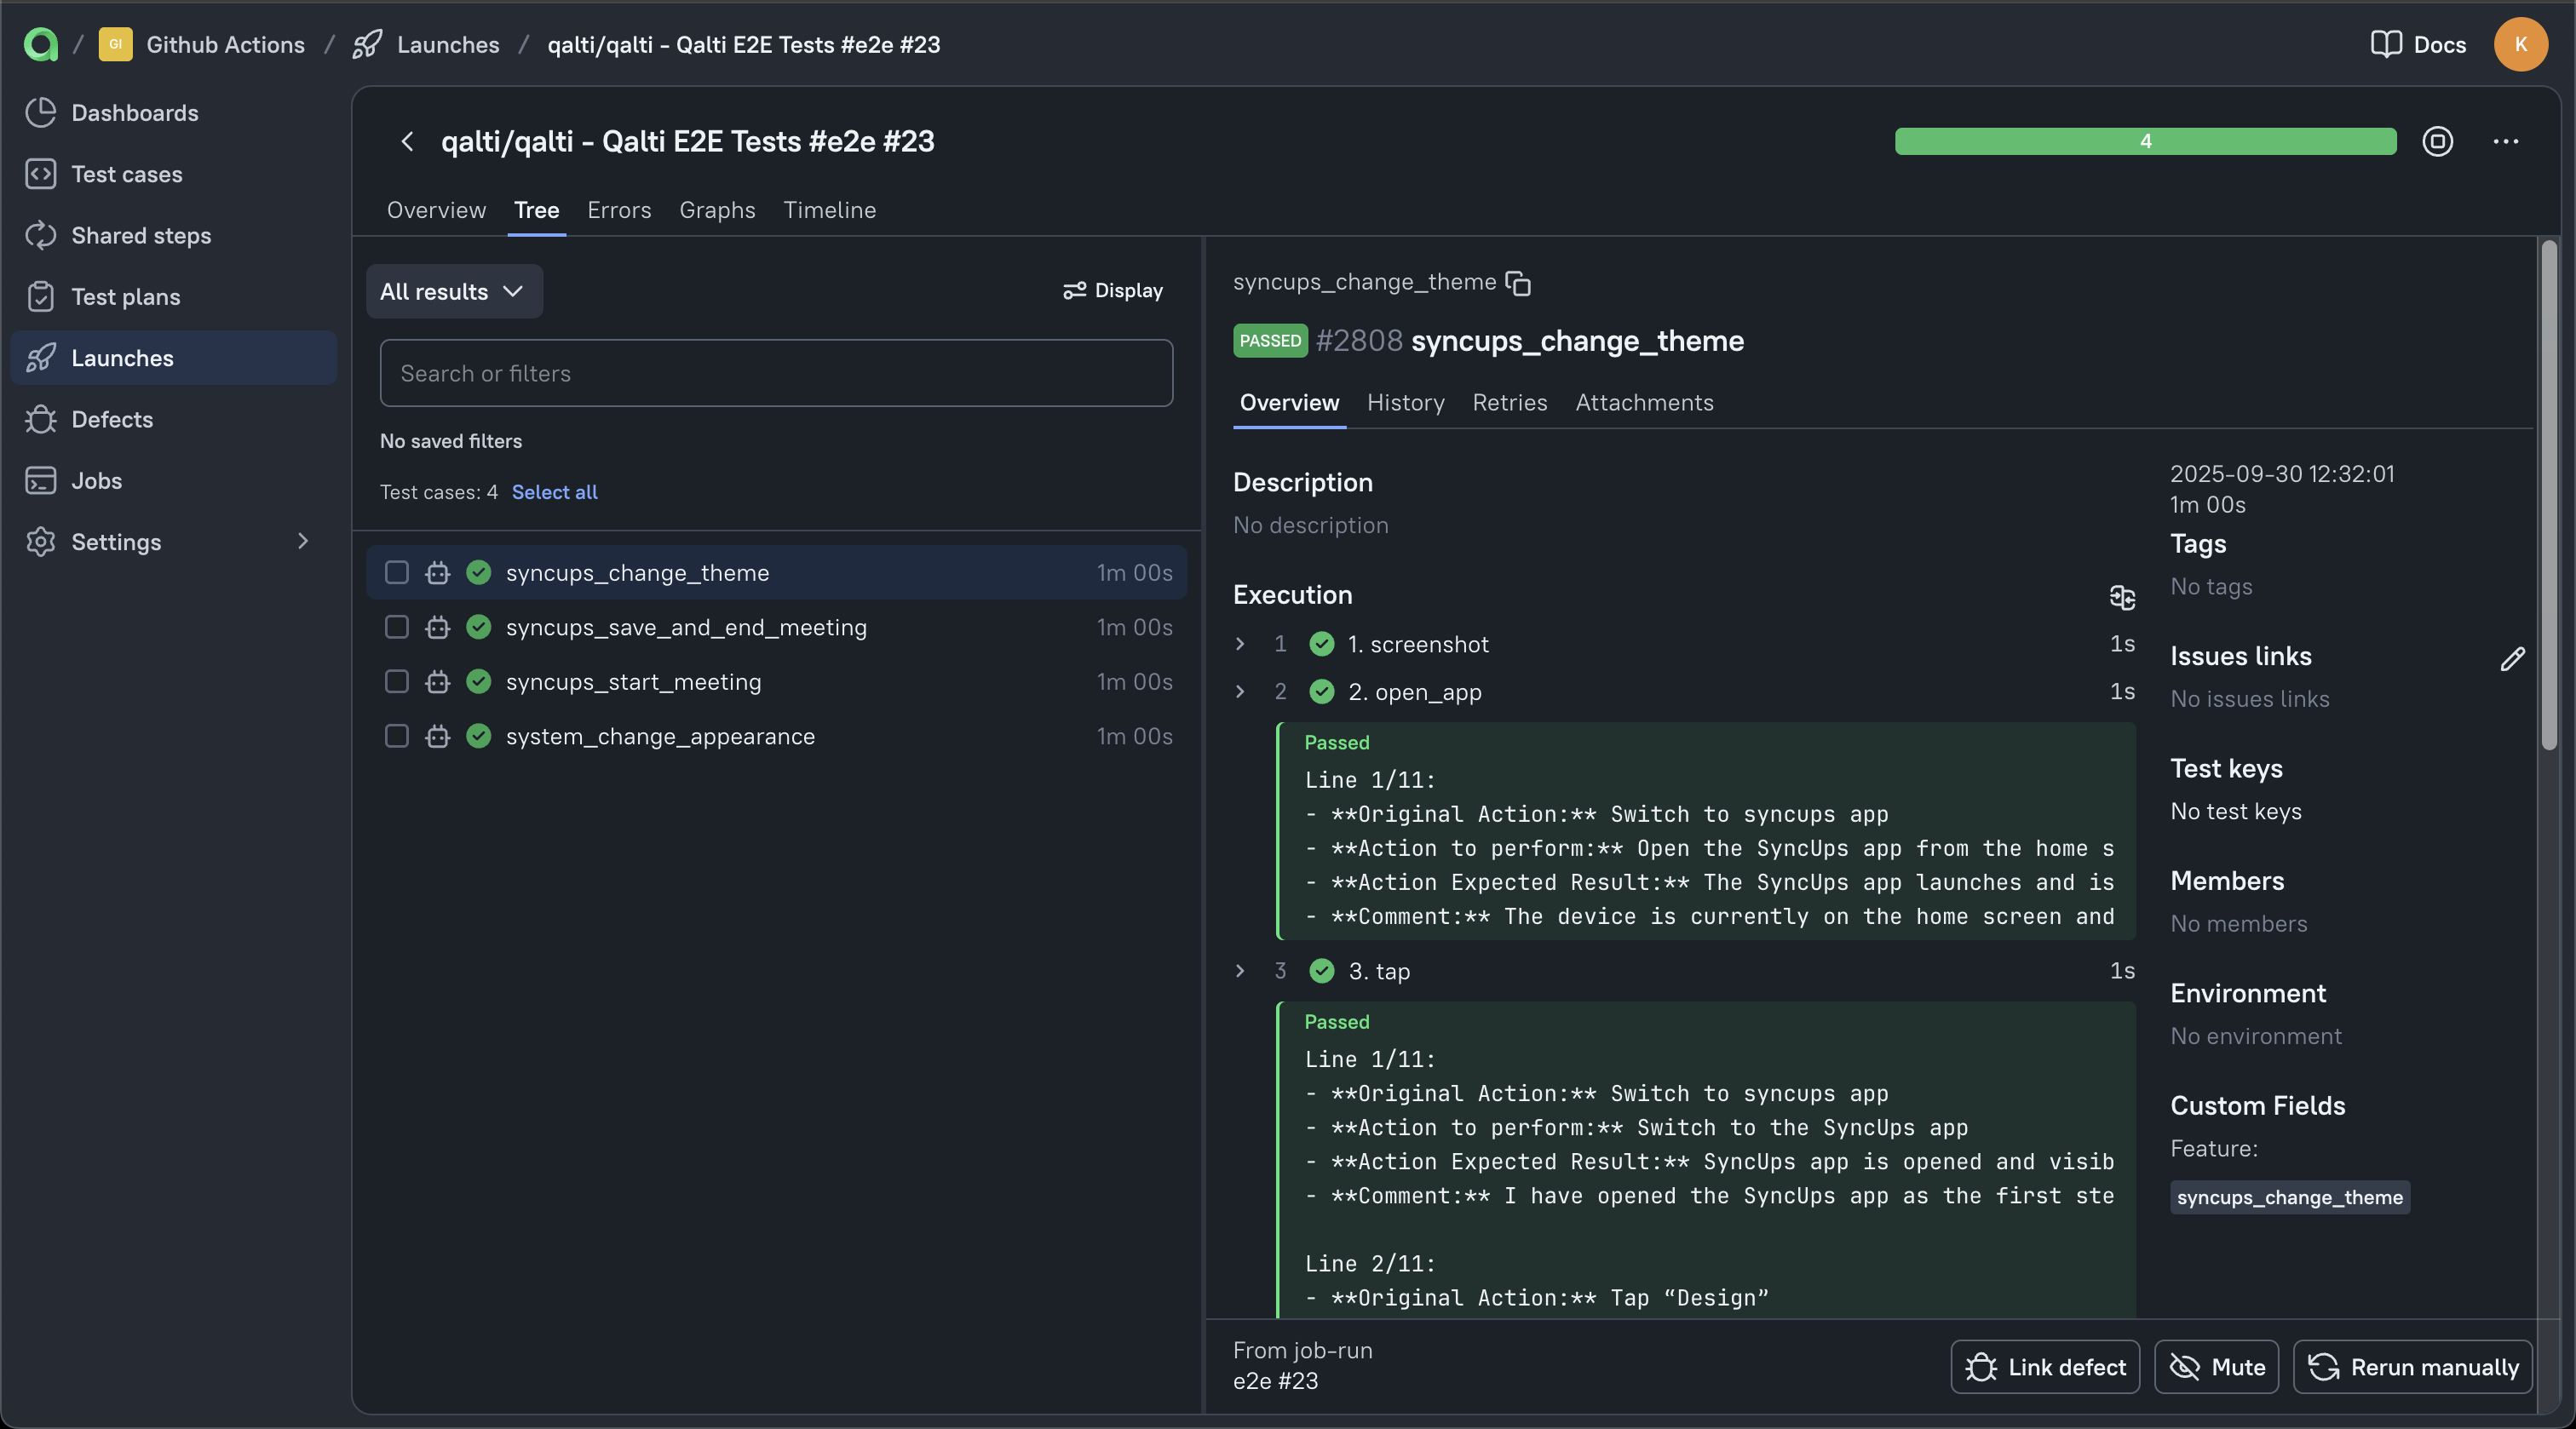
Allure reports
Qalti outputs results in Allure format if you set the --allure-dir flag. You can upload them to your QA system of choice. As an example, we use TestOps Cloud and upload via allurectl.